Handcrafting Gizmos for Magical, Wiccan and Pagan Kids
“Those who don’t believe in magic will never find it.”
-Roald Dahl
Hands on Magic: Most children love working with their hands. For mom, dad or other caregivers crafts offer a way of spending quality time together while teaching about magic. Additionally, your children learn how to use crafts in “the craft” (or just make something fun for a friend)
Making Magical Candles
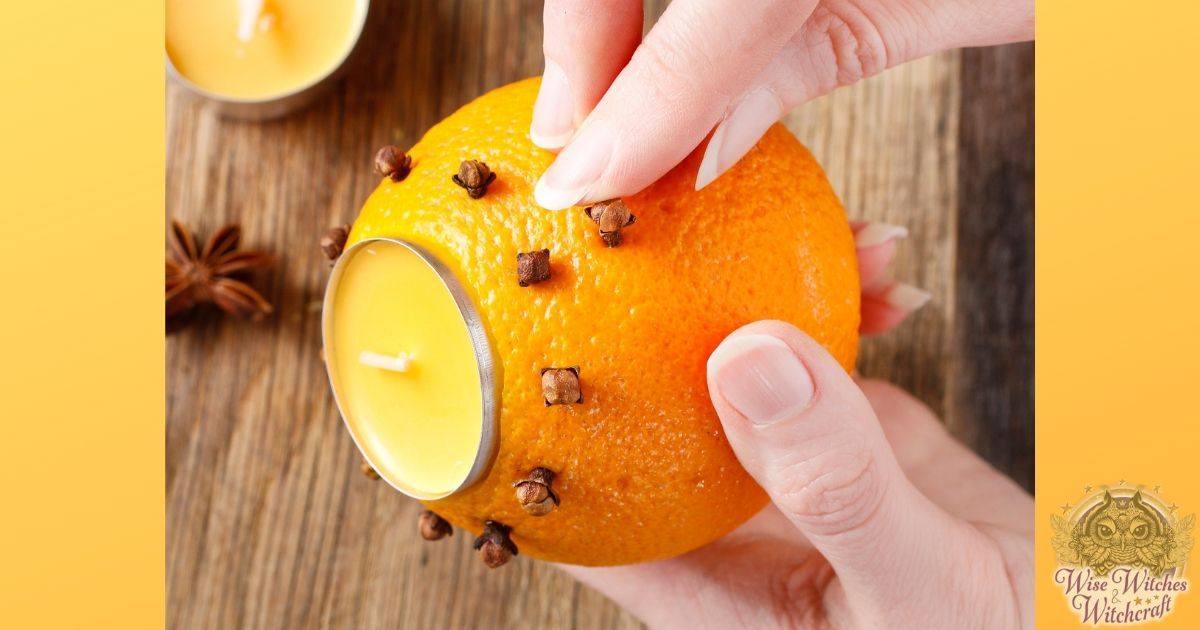
Ingredients: 1 wax milk carton, wax, wick, paperclip, toothpick
Remember reclaiming milk cartons for candles? It still works. For this, you will need to buy or save wax in a hue that matches your child’s magical intention. Cut the wax into small pieces, then melt this slowly in a double boiler, over a low flame on the stove. You probably want a pan that you will NOT use for culinary purposes.
Once it is melted, you can add extracts, oils or finely powdered herbs that are coordinated to your spell’s design. Let’s say your child wants a happiness candle. Yellow makes a great choice in colors, and chamomile promotes joy (you can get this right out of a tea bag). To accentuate this effort, work during an appropriate moon phase or sign. In this case, a waxing moon seems apt. Remember to explain to your child the symbolism as you go, offering ideas/options so they participate in the decision making.
Let the wax cool until a thin layer of solidified wax forms on top, then pour it into an empty, washed milk carton sprayed with oil. Dangle your wick from the top of the carton, secured in place by a paper clip or clothespin. Once the wax totally cools, let your child cut the paper away, and carve any emblems desires with a warm toothpick. As corny as it sounds – a simply smiley face fits.
Magical Decoupage
Ingredients: A sturdy piece of cardboard. Paints or permanent markers, lots of pictures. Decoupage glue and clear coat varnish spray. Damp rag.
This activity begins with the cardboard and magazine images (or even personal photographs). Let your child clip out pictures representing their goal(s). Alternative more permanent foundations include boxes, pieces of wood, trays or dishes just to name a few.
Next, come the pictures. Have your child review the magazines, greeting cards, old book pages, bits of fabric, dried flowers personal photos (hold one copy apart for safekeeping), tissue paper, etc. Let them assemble the images on the surface in any way they wish. Upside down, tilted, wrapped with gold paper – this is when they symbolically “gather” all the energy for which they hope into one place and space.
[wisew_rectangle_large align=”left”]
One at a time, have them glue down the pictures where they wanted along with any decorative additions. Make sure that pictures have no bubbles or wrinkles. Use a damp rag for cleaning up excess glue and little hands.
Once completed let things dry completely. Now you can apply a clear coat on top. Note that some decoupage glues double for this purpose. Put on three layers (for body, mind, and spirit) letting the surface dry between each coating.
Help your child hang the finished piece where he or she wishes. One of the neat applications for magical decoupage is a “friends” board. As the name implies, this includes images of friends. For fun, invite each friend to come and pace their own image with a message below or across it. This makes a great keepsake.
Herb Magical Pendulum
Ingredients: Yarn or string, symbolic herb, paper with a marked circle.
Herbal pendulums, used for divination, are easily made with a bit of yarn or string and the herb you have chosen. Normally, the string or yarn is tied tightly around one end of an herb bundle with enough thread left over so the bundle can dangle freely when one end of the string is held in one hand.
Begin by having your child draw a circle on a piece of paper. Help them mark the four quarters with a slash or N, S, W, and East.
Next talk to your child about his or her question, then help in choosing a term. Let’s consider a question having to do with a friend. Herbs magically associated with friendship include a sprig or rosemary, a vanilla bean or a slice of orange rind. Tie one or more into the end of the string.
[wisew_rectangle_large align=”right”]Now, show your child how to place their elbow firmly on the table and hold the pendulum over the middle. Have them close their eyes momentarily and think about their friend. Here’s one way for interpreting the pendulum’s movements (feel free to create other meanings with your child’s insights):
- North-South – a “yes” if a yes or no question
- West – East – a “no” if a yes or no question.
- Moves more toward the North: a chill in the air; The friendship is struggling and needs a little “warmth” (like a good hug).
- Moves toward the West: Emotions running high. What is at the heart of this problem?.
- Moves toward South: an affectionate friend with tons of energy.
- Moves toward the East: Possibly a new friend entering their life, or an old one returning.
For other symbolic spices, like garlic buds, that do not tie so easily make a small hole in the top of the herb using a needle or fine knife, then thread your string through as you would a bead.
Magical Herb Strings
Ingredients: Long strands of colored ribbon, symbolic herbs, silk flowers (optional).
Made similarly to herb pendulums, herb strings have diverse magical applications. Smaller versions are good additions to key chains and book bags and lockers. Larger versions can become household ornaments for bedrooms, play spaces or windows.
For herbal strings, your components need to be secured to long strands of ribbon, thread, or cord. Fruit rinds work well on the strings since they are easily dried and threaded. Between each chosen herb or rind add other embellishments like silk flowers. This makes the finished strand more ornate. Dried herbs work best for longevity.
[wisew_rectangle_large align=”left”]So what goal does your child have in mind for their herb string? How about decorative ones for the holidays that also have magical significance. For example, at Easter, both mint and parsley appear in the garden. Pick some fresh pieces and let them dry on a screen in a cool area. Mint represents hospitality (for those guests coming by), and parsley symbolizes joy and success.
This project offers you a chance to teach a bit about Knot magic too. As your child ties the herbs into the strand, let them recite a little charm like:
“Spring is here, the sun will stay
Let hope and happiness come our way.”
You can take this down after the holiday, but it certainly can stay up so the positive energy keeps blessing the home.
Magical Incense
Ingredients: powdered wood, dried, ground herbs and flowers, essential oil (optional), self-lighting charcoal, fire safe container.
[wisew_rectangle_large align=”right”]Incense is effective as a meditative tool and a spell component because it releases its energy to the winds augmenting your efforts. It is simple to prepare even for kids using dried herbs, dried flower petals, spices, and wood shavings or powders.
First, ask your child how they plan to use the incense. Let’s make this one for keeping away bad dreams. An example would be using a base of ash or cedar wood powder with anise, rosemary, and jasmine (which inspires happy dreams). Here are the proportions.
Nixing Nightmares Blend:
1 teaspoon dried rosemary
1 teaspoon powdered anise
1 teaspoon dried jasmine (or ¼ teaspoon jasmine oil)
½ cup powdered wood
As your child mixes the incense, he or she can add an incantation like:
“Images that scare me turn away
In this incense, only good dreams stay.”
Tips: If you end up using essential oil, mix it into the blend thoroughly and let the incense dry before using. If you cannot find powdered wood make it using a sturdy pencil grinder. Put your child to work making what you need.
For safety reasons, light this in your child’s room a while before bedtime. That fills his or her room with the magic. Then extinguish it after tucking them in. Remove the burner from the room if you wish as it will still be hot.
Magical Masks
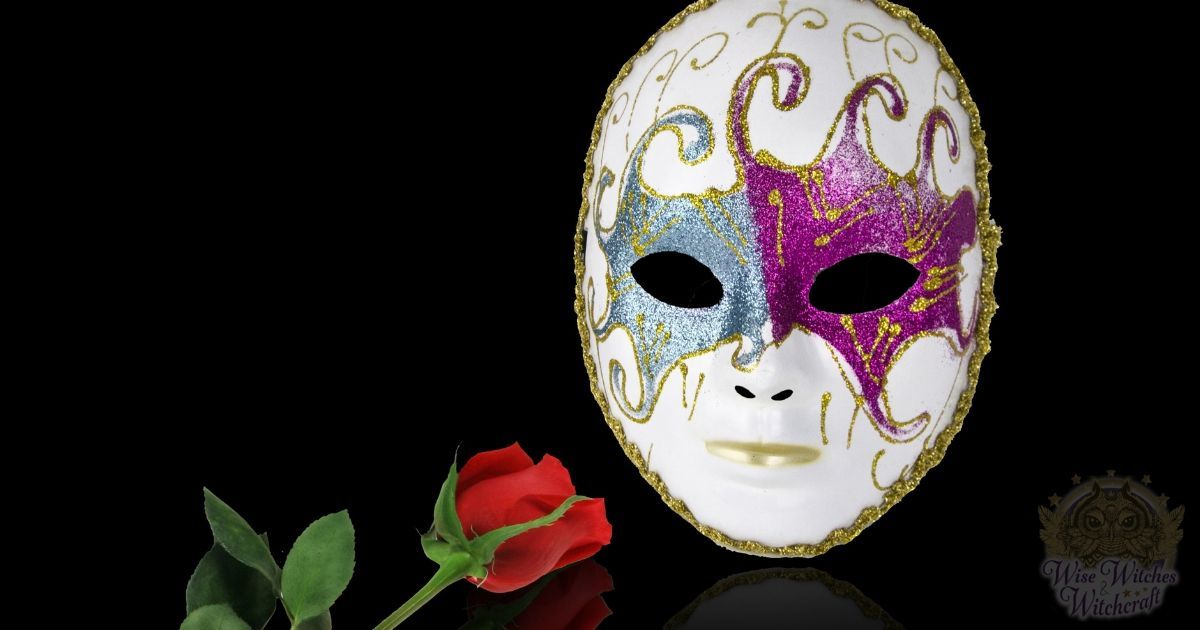
Ingredients: Cardboard, string or ribbon, paint or markers, scissors, leaves, feathers, glitter, and other decorations.
Masks are employed most commonly for imitative magic. For a time, masks allow us to symbolically become a person, situation, problem, or animal. This mimicry helps direct and channel our magical energy. Halloween is one of the best times of year for this project because the mask can be part of your child’s costume.
Ask your child what they want the mask to look like. Will it be an animal? Something imaginary? A pleasing pattern? Whatever their choice you need a piece of cardboard, string or ribbon, and your decorative components.
Step one: cut out the shape of the mask – round, square, cat’s eyes, etc. Next, put that base against your child’s face so you can determine where eye holes go. Cut those out and check again for fit. Full-face masks also need a mouth opening.
Now comes the fun part. Whip out the glue and decorating components and let your child’s imagination do the rest. Finish with ribbon or string for securing the mask when they go a-guising.
Nut Containers
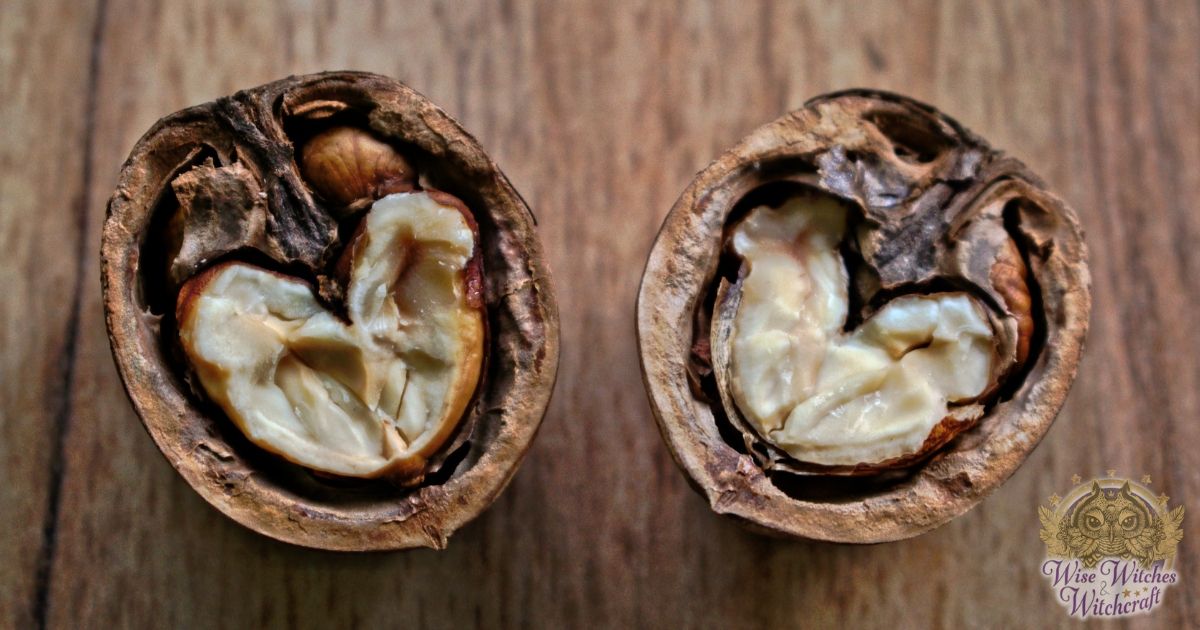
Ingredients: Empty nut shells like walnut, symbolic components, glue.
Nutshells, especially walnut and coconut shells, make excellent base spell components because your child can seal his or her magic within. To use nut hulls for this purpose, break them and dry before filling. Next, what goes inside? You have limited space to give your child small objects or herbs suited to the goal from which to choose.
[wisew_rectangle_large align=”left”]One example might be an anger relief talisman. Possible magical ingredients include black obsidian (capturing anger), amethyst (cooling anger), pepper or dill seed (dispelling unwanted influences) and/or lemon (cleansing). Let your child pick out the items to which he is attracted and begin putting them in the shell while talking about what made him angry in the first place.
Seal up the shell and have your child bury it where it won’t be disturbed. They can use a verbal element if they wish:
I bury this anger; keep it away
Let forgiveness win today
If you have created the nut charm or amulet for something positive, have your child carry it or keep it in her room instead. She can open the nut when that energy is most needed.
Portable Magical Charms
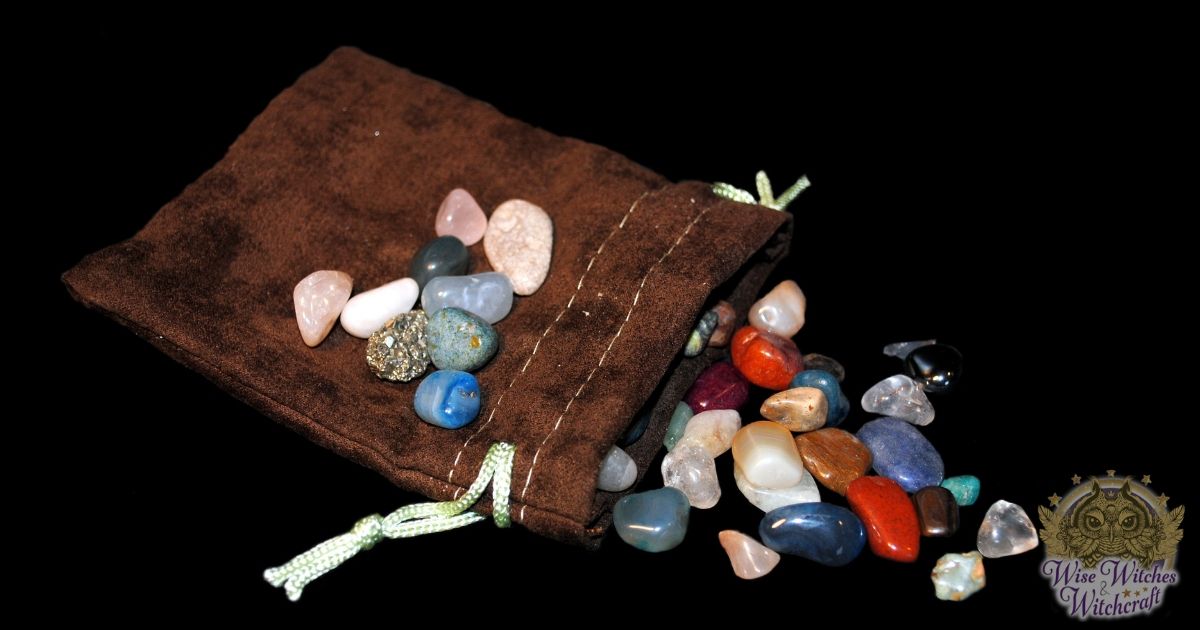
Ingredients: Cloth, symbolic components, ribbon or string
The easiest portable charms begin with a swatch of cloth about 5” x 5” square. Have your child choose the color of the fabric according to their goal. A wish bundle, for example, might use rainbow colored fabric because wishes can be very diverse.
Next, your components. Aventurine, Citrine, Rainbow Moonstone, Quartz and Turquoise all have associations with wishes. We like aventurine because its name sounds like an adventure! For herbs or plants, you have rosemary, bay, clover, cinnamon, and vervain as good choices.
Now just have your child bundle up the cloth, securing it with the ribbon or string. If there’s a lot of excess cloth just trim it back Let them whisper their wish into the bundle (but keep it secret). Any time they think about that wish until it manifests they can sprinkle a bit of the herbs in the pouch around themselves.
Magic Wands
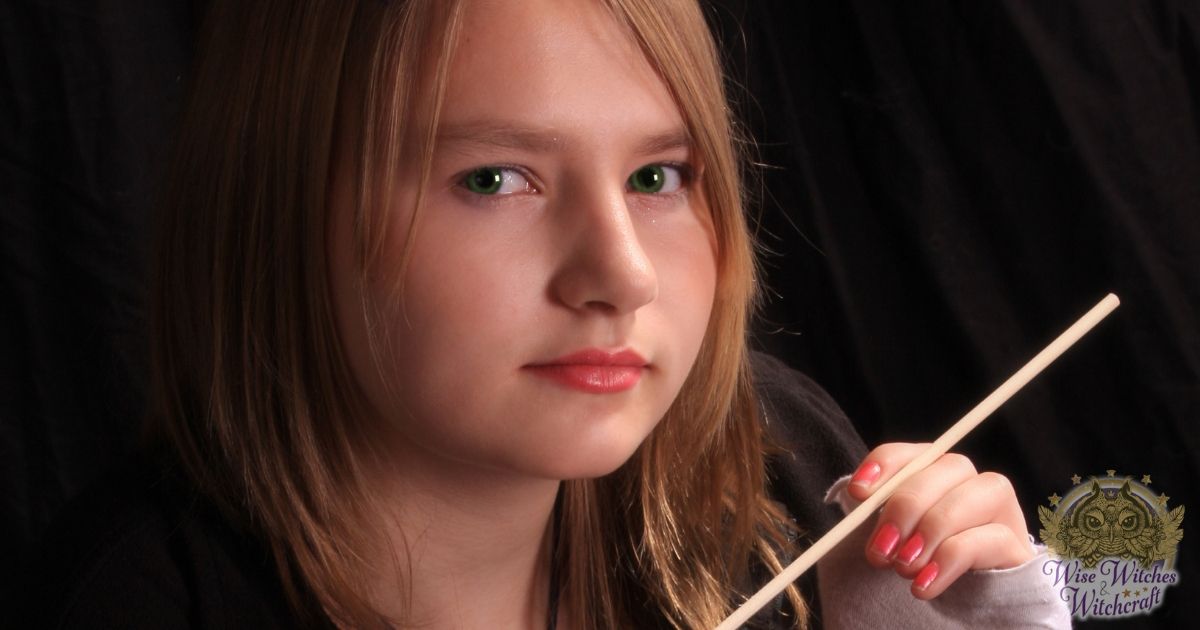
Ingredients: Fallen branch, glue, tiny crystals, feathers, beads, leather thong.
Wands act like pointers on the Universe’s chalkboard. They aren’t difficult to make. Begin by taking your child to a spot where they can find a small fallen branch that fits their hand comfortably. Take that home. Soak the wood. This loosens the bark.
Help your child peel off the bark. Give it a light sanding so there’s no chance of splinters. Bring out your decorative items. Let your child pick out things that attract them and show you where each one should go.
Using a craft knife, create small holes. Secure crystals therein with glue (wood glue is best). Don’t forget a nice point at the top!
Show them how to braid the leather thong starting about three inches from the bottom. Work around the wand moving downward. At the end, they can add feathers, beads, etc.
Bring your child to the next Circle where everyone can energize and bless this magical tool. Have him or her keep it at home in a safe place, such as on their personal altar.
Magical Wish Boxes
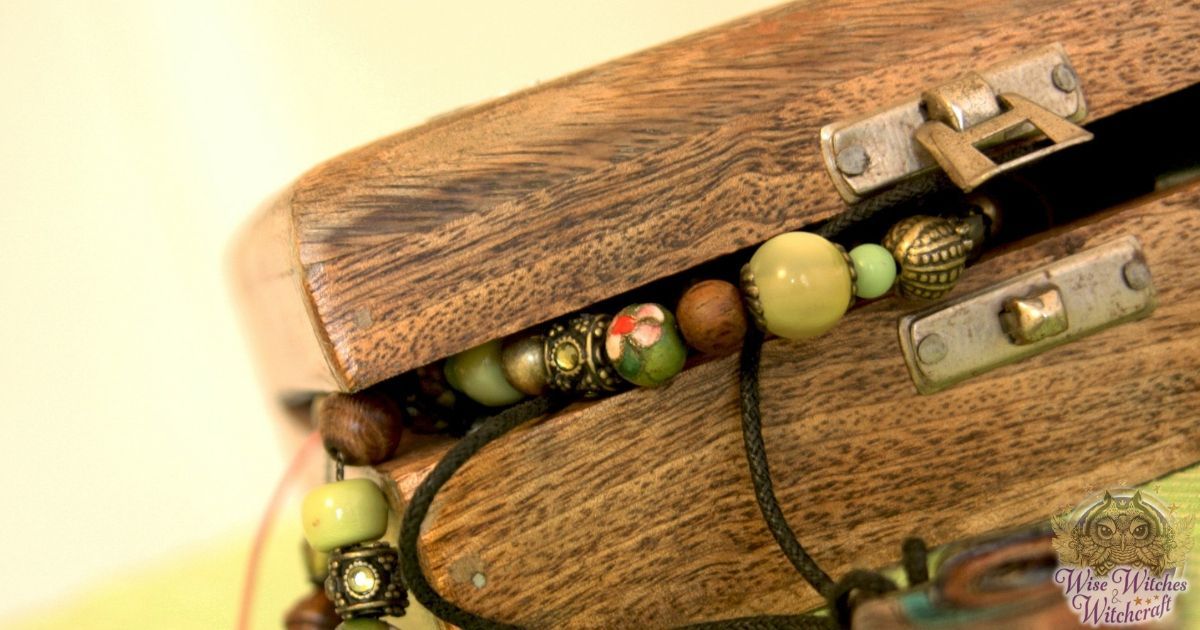
Ingredients: Small boxes; symbolic components
Gather a variety of boxes with your child at flea markets, yard sales, etc. These will only be used for your child’s spells. Many boxes require little in the way of decoration having mirrors, fanciful paints or images, and even inlaid crystals.
Take the child out on a night when shooting stars show readily (check your newspaper). Bring one of the boxes, a written wish and any other component she wants inside the box. When he sees a star fly by have him say something like this while holding the box in both hands.
Like the star, let magic rise
From the earth and to the skies
Hear my wish, I make by night
Come the day, my magic take flight!
Afterward, your child can keep the box where he or she sees it often. Do not open it. When his wish manifests, return the contents to the earth with thanks.
Adapted from “Wicca 2000,” By Patricia Telesco. All rights reserved.

